Your CMOS battery is a crucial component of your motherboard, responsible for supplying power to the CMOS chip ensuring it retains vital information about your hardware. However, similar to all batteries, it does have a limited lifespan and you might find yourself needing to replace it.
If you don’t know how to replace the CMOS, we’ve created this handy step-by-step for that very reason!
What is the CMOS Battery?
The CMOS battery is a fundamental component found on all motherboards, responsible for powering the CMOS chip and preserving any of your BIOS settings even in the event of power failure.
Why Would You Need to Change the CMOS Battery?
The CMOS battery will need to be replaced after extended periods of use, with the average lifespan being between three and ten years.
Thankfully, your PC will start displaying some noticeable symptoms when the CMOS battery is nearing the end of its life. This includes:
- Incorrect date or time
- Driver malfunction or peripherals suddenly not working
- CMOS errors
It is also important to note that some viruses and malware can mimic the symptoms of a dead CMOS battery. Therefore, we suggest you run plenty of virus and malware checks before you replace the battery.
If your PC does have a virus, we’ve got all the top tips in our dedicated blog post. Check it out!

Incorrect Date or Time
Incorrect date or time is the most common sign of a failing CMOS battery. Just as it sounds, the date and time displayed on the timebar will be notably different compared to the actual date and time. It will often revert to the time that your motherboard was built and tested.
If you do notice that your date and time are off, we recommend you restart your PC, enter BIOS, and check what date and time is listed there. If it’s wrong, update it in BIOS. From here, restart your PC and enter BIOS again. If the date and time have reverted again, this is a clear sign of a failing CMOS battery.
Driver Malfunction
Driver malfunction or peripheral failure isn’t a common symptom, but it can still happen, even if you’ve reinstalled any fresh drivers.
CMOS Errors
Lastly, you might receive a CMOS error pop-up. This error can be displayed as:
- CMOS Read Error
- CMOS Checksum Error
- CMOS Battery Failure
If you are experiencing these errors, we recommend you restart your PC. If the error stops appearing after a simple restart, you might find that the CMOS battery had simply run out of charge. However, if you continue to experience the error, it can be a clear sign that your CMOS battery is failing.
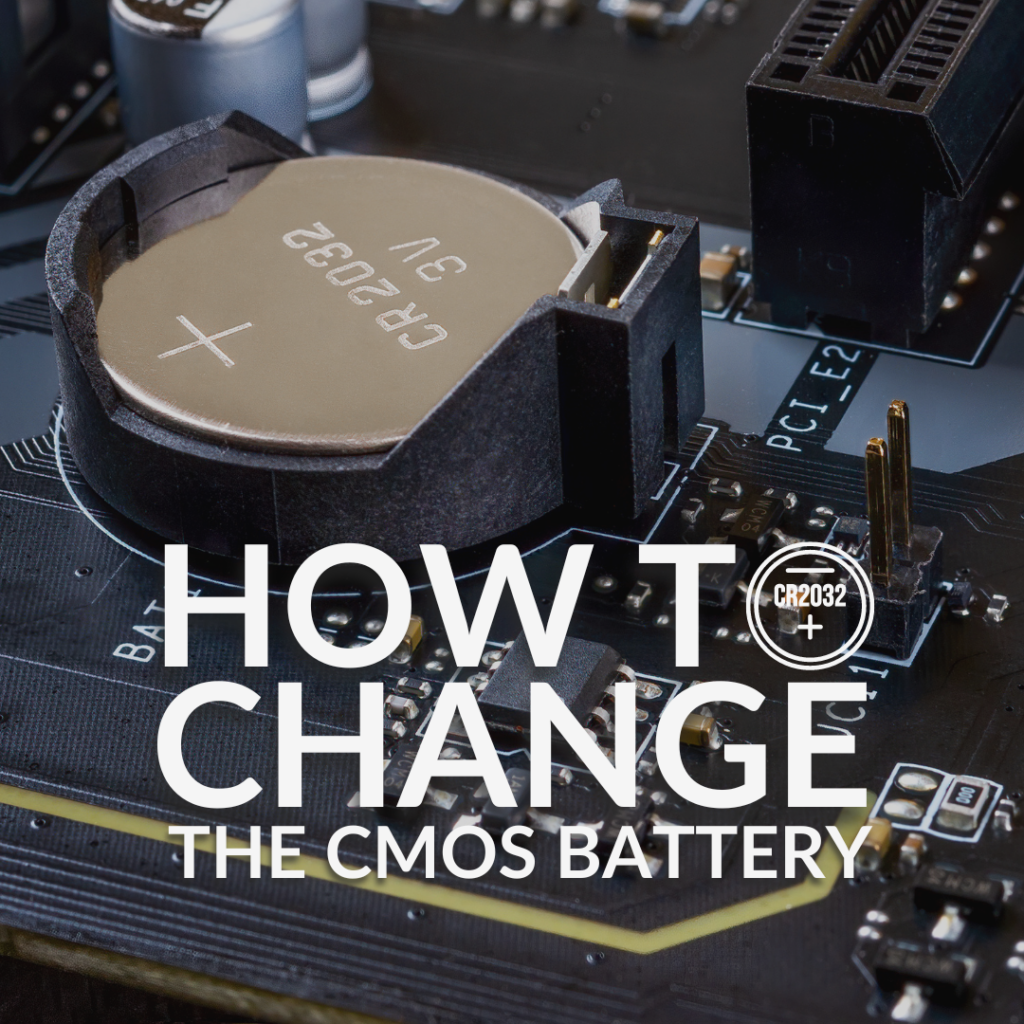
How to Change the CMOS Battery
Changing the CMOS battery isn’t as complicated or scary as it sounds, especially if you follow our step-by-step instructions.
First up, before you replace the battery, you need to ensure that any external devices are disconnected such as your keyboard or mouse, and that your PC is turned off completely and unplugged.
Allow your computer to sit for a few minutes to fully decharge and make sure you ground yourself before you touch the motherboard. This helps to prevent you from causing a short circuit, damaging the PC, and possibly hurting you.
How to Remove and Reinstall
Now you’re ready to go ahead and remove your old CMOS battery and install the new one. Locate the screws on the back of your PC case and carefully loosen them. These thumbscrews are usually spring loaded so they shouldn’t come out all the way. From here, remove the small screws on either side of the panel to slide the panel off.
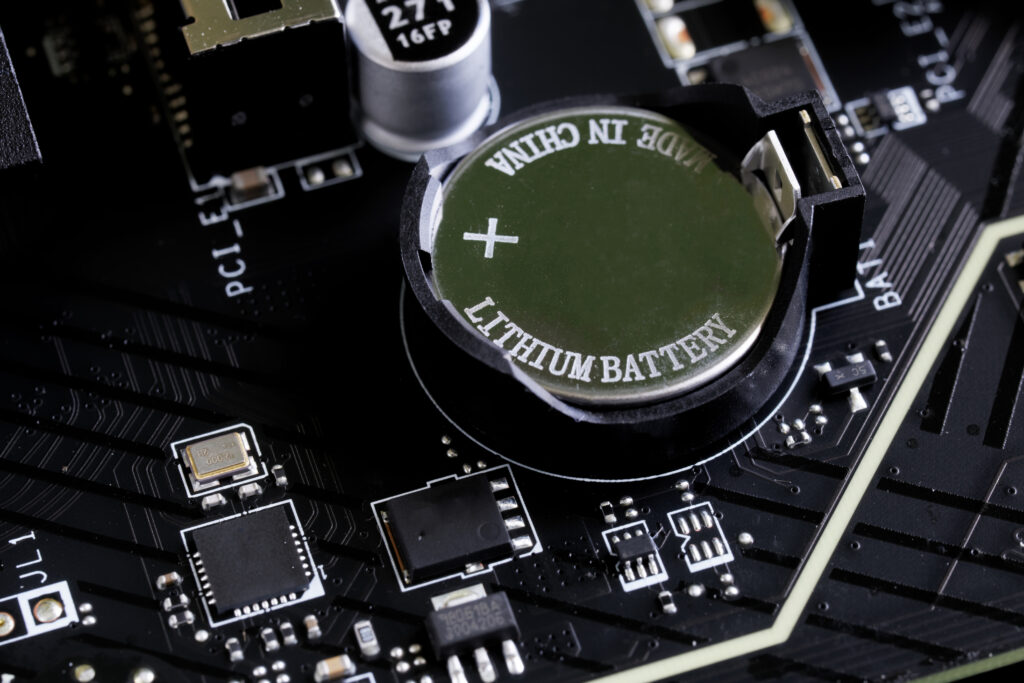
Find your CMOS battery. It is typically on the right side of the motherboard and looks like a coin. Once you find your CMOS battery, we recommend you take note of the orientation of the battery, whether the + or – is facing up or down. Using a small tool, such as paper clip, carefully lift the retainer clip to free the battery. Wait five minutes after you remove the CMOS to install your new battery. Making sure it’s configured in the same orientation as the previous one.
Configure BIOS Settings
Once you’ve successfully installed your new CMOS battery, you’ll then need to reload your BIOS settings. To do this enter your computer’s BIOS and go into Advanced Mode by pressing F7. Navigate to the ‘Tool’ section, Overclocking Profile, and then select CS4XXv6 from the Profile 1 drop-down list. Once the Profile has loaded, exit out of the BIOS, and restart your PC.
Please note, that the instructions listed above are motherboard dependent. For the best results, we recommend you consult your motherboard manual or manufacturer page.
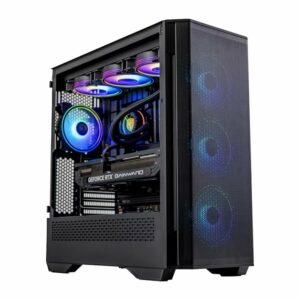
Is It Time for an Upgrade?
Have you tried replacing the CMOS battery but are still being plagued by pesky performance issues? If so, it’s time to say goodbye to your trusty old motherboard and treat yourself to a shiny new upgrade.
At Overclockers UK, you can find plenty of high-quality motherboards from a range of manufacturers sporting compatibility with both Intel and AMD processors. We’ve got our top picks for you below, but if those don’t suit your needs, you can browse all our motherboards by clicking the button.
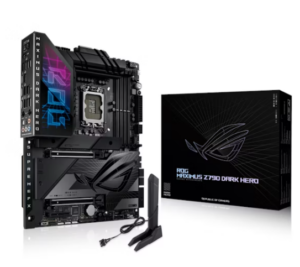
ASUS ROG Maximus Z790 Dark Hero DDR5 ATX Motherboard
- ATX form factor
- LGA 1700 Socket
- Compatible with Intel 14th Gen CPUs
- Supports DDR5 RAM and PCIe 5.0
- Integrated Wi-Fi 7

Gigabyte X670 Aorus Elite AX DDR5 ATX Motherboard
- ATX motherboard
- AM5 Socket
- Compatible with AMD Ryzen 7000 CPUs
- Supports DDR5 RAM and PCIe 4.0
- Built-in Wi-Fi 6E
Alternatively, if you aren’t quite as tech savy, you can always go all out and spoil yourself with a brand-new gaming PC. We’ve highlighted our top two faves, however, you can shop the full range if these don’t quite suit your vibes.
Refract Gaming Jade Pre-Built PC
- Pre-built gaming PC
- Designed for mid-tier gaming and budding content creators
- Includes AMD Ryzen 7 7700 CPU and NVIDIA RTX 4060 Ti GPU
- 32GB DDR5 RAM
- 1TB M.2 SSD
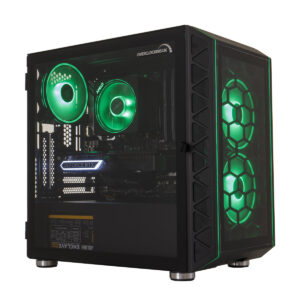
OcUK Gaming Khopesh Configurable PC
- Configurable gaming PC
- As standard includes an AMD Ryzen 7 7700X CPU and NVIDIA RTX 4070 Ti Super
- 32GB DDR5 RAM
- Optional secondary SSD
- Choice of Windows operating systems
Share Your Tips!
Do you have helpful advice or top tips for those trying to change their CMOS battery? Share them in the comments below. In the meantime, be sure to check out some of our other helpful blog posts all about your PC’s motherboard and BIOS.
How to Reset Your BIOS

How to Acess Your BIOS
Anatomy of a Motherboard
*Prices correct at time of writing and PC specs are subject to change.
- 6 min read
Ruth Rowley
Author
Ruth has been with Overclockers UK for over a year and has gone on to write about everything ranging from in-depth hardware guides to monthly game releases.
Outside of writing blog posts, she can be found wrapped in a blanket with her black cat, engrossed in a book or playing life-simulation games such as The Sims, Stardew Valley, and Animal Crossing.
Read More >>