Looking to move your Windows OS from an HDD to an SSD?
In this handy step-by-step guide, we’ve detailed everything you need to know about transferring Windows to an SSD, including why you should do it, the pros, cons, and how to go about moving your OS.
Why Should I Move Windows from an HDD to an SSD?
SSDs boast significant improvements over traditional hard drives, especially when it comes to read and write times. Moving your operating system onto an SSD can help to boost performance by delivering notably quicker boot and loading times. This is because, unlike an HDD, SSDs don’t feature any mechanical moving parts and instead harness integrated memory chips to process your data.
However, while there are benefits to moving Windows from an HDD to an SSD, there are some drawbacks. The process can be slightly complicated, especially for beginners, as you’ll typically have to use a third-party cloning software. There is also the risk of you losing any of your precious data, which is why creating a backup is vital.
Thankfully, we’ve created a blog post jam packed with all our tips and tricks for safely backing up your PC. Check it out below!

Therefore, unless you have no other option but to transfer your operating system, we recommend you consider a full and refresh installation of Windows onto the SSD instead. This will allow you to reap the benefits of faster read/write speeds and rapid loading times, without the unnecessary stress and risk that comes with transferring over.
TDLR: We’ve broken down all the pros and cons of transferring Windows from an HDD to an SSD below.
Pros and Cons
Pros
- Faster loading times.
- Better responsiveness.
- Can help to fix most issues caused by a slow performing PC.
- Silent operation – lack of mechanical moving parts means that SSDs create virtually no noise.
Cons
- Increased chance of data loss through the cloning process.
- Can be complex – transferring Windows from an HDD to an SSD isn’t always suitable for complete beginners.
- If you are upgrading a lot of your hardware simultaneously or moving a copy of your OS to a new PC, you may experience a lot of driver instabilities which can result in you having to complete reactivate Windows.

How to Move Windows from an HDD to an SSD
First things first, before you begin moving your OS, make a backup. This back up could be on another physical drive or an online cloud solution such as OneDrive, but it’s absolutely vital you create a backup of anything important.
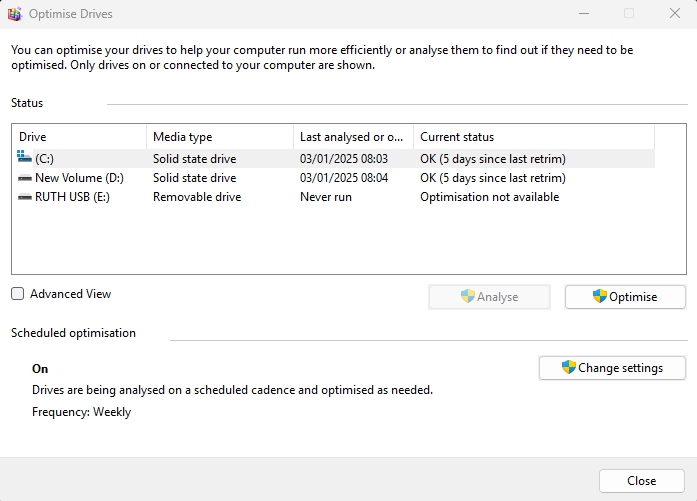
To transfer Windows to an SSD, you’ll need to clone your HDD. That’s why we also recommend that you also defrag the file system first as this will reduce the amount of time it takes for all your data to be copied. To do this:
- Click Start
- Search for ‘Defrag’ and click on ‘Disk Defragmenter’
- Follow the on-screen instructions to run the applications and arrange your disk drive more efficiently. This may take a few minutes or perhaps longer, depending on the size of your drive.
After this, we suggest you go ahead and delete any unwanted files. If the capacity of your hardware exceeds that of the SSD, you won’t be able to store everything on the solid state drive. Meaning, it’s best to go through your HDD and clear out anything unwanted. This could be:
- Checking any folders such as My Downloads. This folder can get full pretty quickly with large, old, and even unwanted files. Delete anything that’s not needed.
- Click on Start and search for ‘Disk Cleanup’. Open the application and select your HDD from the menu. Follow the on-screen instructions to successfully clean up your HDD by removing any temporary files or old drivers.
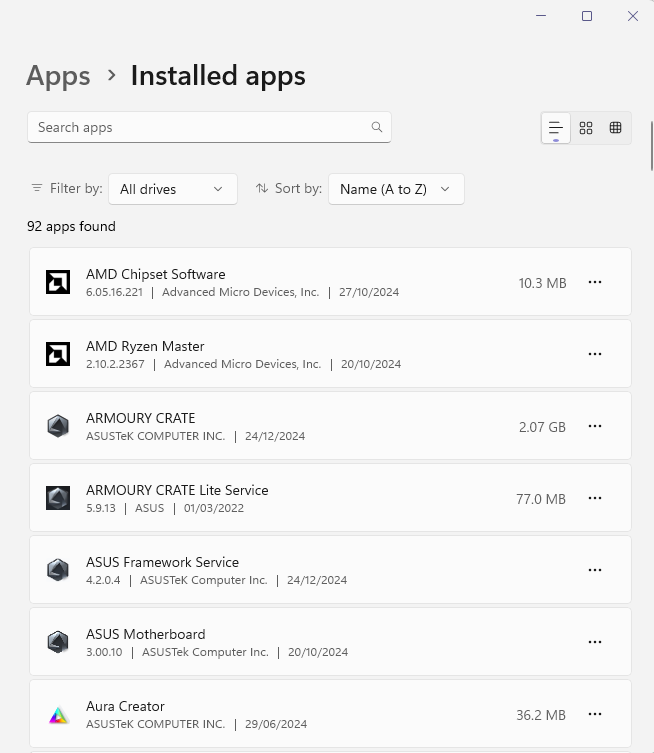
- In the Control Panel (or Settings) > Apps > Installed Apps. Here you’ll see a list of every application currently installed on your PC. Simply go through the list and delete anything that is unwanted, old, or bloatware.
Once you’ve successfully backed-up your files, and triple-checked that you have everything you need, you can go ahead and delete the data within the folders. We suggest you keep the folders themselves as you may need them later on. What’s more, you’ll also want to keep any applications stored within the ‘Program Files’ folder to ensure that these are included in the transfer.

From here, we can start cloning your HDD. To do this, you’ll need to install third-party cloning software. In our example, we’re using EaseUS Todo Backup.
First, open up your chosen software. On the left-hand panel, select ‘Clone’. Choose your HDD from the list and then your SSD as the target location. We suggest you check ‘Optimise for SSD’ as this setting ensures that the transfer goes as smooth as possible and that your SSD can deliver the best performance possible.
You may receive an error pop-up message saying that the source disk is too big. If so, we recommend you go back and delete any more unwanted files or programs until the data on your HDD is below that of your SSD’s capacity. The software will likely ask you to shut down your PC once the cloning process is completed. Wait for it to finish and then reboot.
Typically, on your first startup, after moving Windows to your SSD, you’ll be asked to pick which drive you want to boot your OS from. Be sure to select your SSD from the list provided. You may need to go into your PC’s BIOS and set your primary boot device to your newly installed SSD.
Don’t know how to get into the BIOS? Take a look at our handy guide.

After this, go into the Device Manager and ensure that you have all the correct drivers installed. This is paramount if you are moving your Windows copy to an entirely different PC or have treated yourself to a few component upgrades.
The last step is to wipe all the remaining data off your HDD. Again, we recommend that you double-check everything is backed up before you proceed.
And that’s it! You’ll have successfully transferred Windows from your HDD to an SSD and can go ahead and recover any saved data from your backup.
Is It Time for a Storage Upgrade?
Are you in need of a storage upgrade to boost your capacity or in-game load times? If so – you’re in luck, as Overclockers UK stocks a premium selection of both M.2 and 2.5’’ SATA SSDs. Available in a range of different capacities, boasting varying read and write speeds, there is an SSD here to perfectly meet your demands.
We’ve highlighted a few of our favourites below, but you can explore all our storage drives by clicking the button.
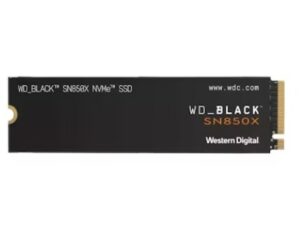
WD Black SN850X 2TB M.2 SSD
- 2TB storage capacity
- 2280 form factor
- PCIe 4.0 compatibility
- 7300MB/s read speed
- 6600MB/s write speed
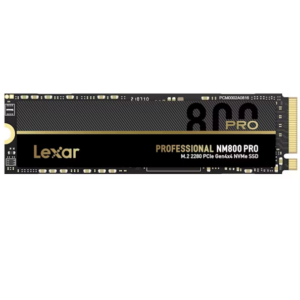
Lexar Professional NM800 1TB M.2 SSD
- 1TB storage capacity
- 2280 form factor
- PCIe 4.0 compatibility
- 7400MB/s read speed
- 5800MB/s write speed
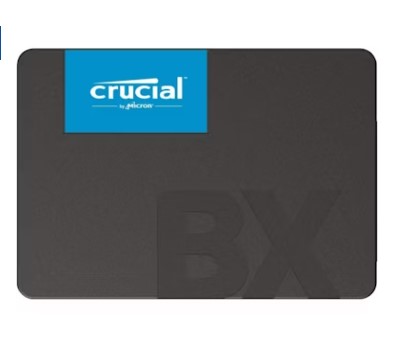
Crucial BX500 4TB 2.5” SATA SSD
- 4TB storage capacity
- 2.5’’ SATA
- 540MB/s read speed
- 500MB/s write speed
Learn More About Your PC Storage
Did You Move Windows to an SSD?
Did you successfully install Windows on an SSD? Do you have any top tips to share in the comments? Let us know below.
