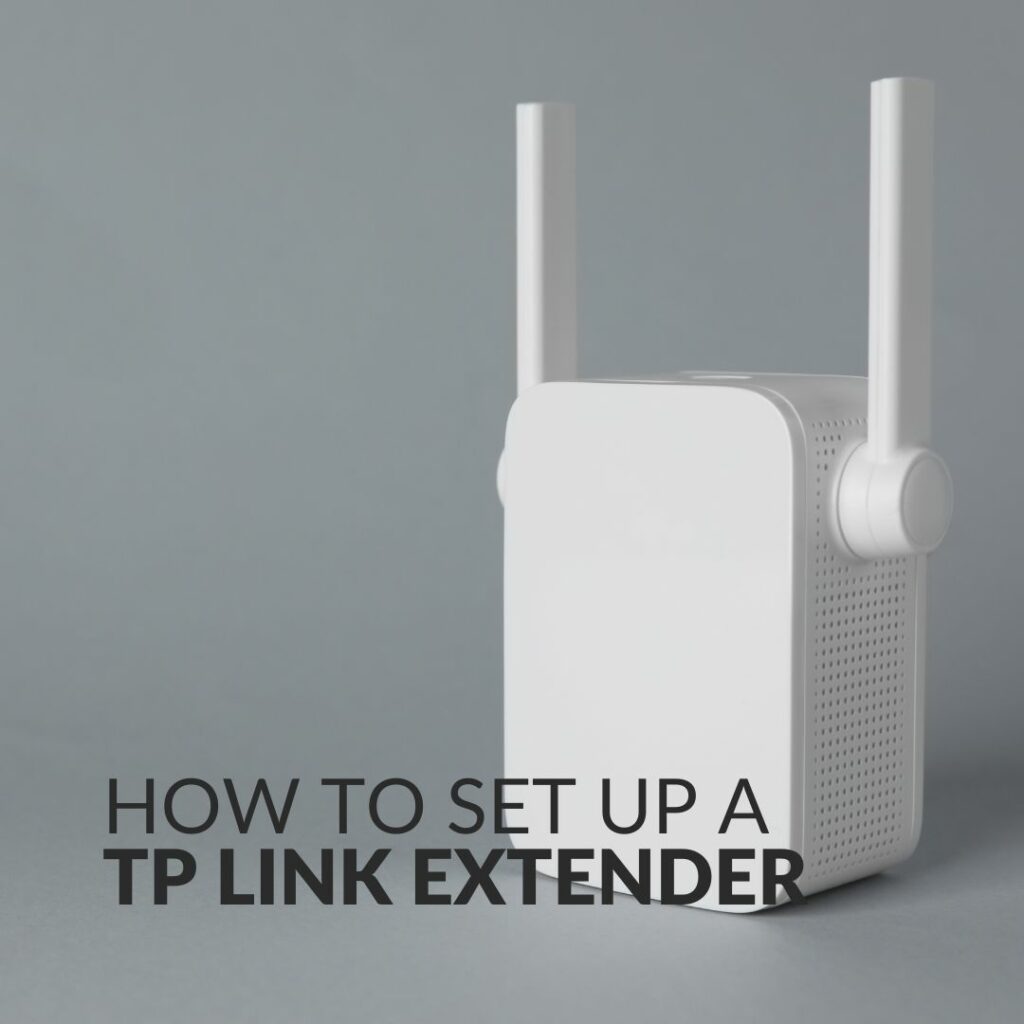
A TP Link Extender can notably improve the internet connectivity in your home, but how do get started with boosting your Wi-Fi?
Here at Overclockers UK, we’ve put together this helpful guide detailing how you can set up your new Wi-Fi extender, along with all the pros and cons of this Wi-Fi extender.

What is TP Link Extender?

A TP Link Extender connects to your internet router wirelessly to expand the coverage in your home. It’s especially useful if you have areas where your internet doesn’t typically reach. A Wi-Fi extender also reduces any signal interference, to ensure a reliable wireless connectivity.
You can connect any type of wireless device to an Extender, plus if your model has a LAN port, you can also support multiple wired devices.
Pros & Cons of a TP Link Extender:
Advantages:
- Better Wi-Fi coverage in your home
- Simple to setup
- Can connect multiple devices
Disadvantages:
- Potentially slower download speeds – especially if your Wi-Fi router has a weak signal
How to Set Up:
You’ll first need to plug your TP Link Extender into a wall outlet and connect it to your computer via an Ethernet cable.
After this, head over to > http://tplinkrepeater.net/. This is a TP Link web page that allows you to configure and set up your Extender.
Select Quick Setup > Next > Select Your Region > Next.
Your TP Link Extender will then scan for any wireless networks. This might take a few minutes, it all depends on how many networks are around you.
Once the scan is complete, select your wireless network from the list and then > press Next. You’ll also need to enter your wireless password when prompted.
After this, select Copy from the Main Router if you want a single large wireless network or Customise if you want to create a different network. When you’ve decided which type of network you want > press Next.
Here, you’ll be able to review the network settings. If everything suits your individual preferences, select Finish.
Your TP Link Extender will need to reboot first. Once it has, it should allow access to the internet. You can opt to test it first with an Ethernet cable and then without utilising wireless connectivity.
Depending on what model of TP Link Extender you have, there might be a light indicator on the front, which signifies whether the Extender is connected to the internet.
Set up via WPS Button:
Alternatively, if your router has a WPS button, you can use that to set up your TP Link Extender.
The WPS button stands for ‘WiFi Protected Setup’ which allows you to configure networks automatically and safely. It is typically a physical button on the back of the router, that is often labelled ‘WPS’.
To setup via the WPS button, you’ll first need to plug the TP Link Extender into a power outlet close to the wireless router.
Press the WPS button on the back of the router, the WPS LED should blink. If it doesn’t, press the button again.
Once you’ve seen the LED light blink, press the WPS button on the TP Link Extender. The WPS light should blink again, if it doesn’t, press the button once more.
That’s it! With the WPS button, you don’t have to manually configure the settings on the TP Link Extender. The WPS button informs your router that you are allowing it to connect to a device with WiFi Protected Setup enabled.
Shop all TP Link Extenders:
If you’re struggling with poor Wi-Fi coverage in your home, we have a range of Wi-Fi Extenders you can purchase to improve your internet connectivity.
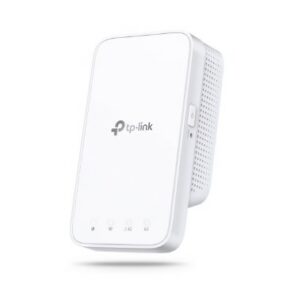
TP Link RE300 Wi-Fi Range Extender:

- Dual-band Wi-Fi extender
- Up to 5.GHz bandwidth
- Integrated Smart Signal Indicator
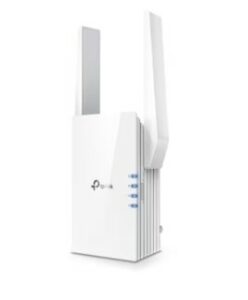
TP Link RE505X Wi-Fi Range Extender:

- Wi-Fi extender
- Compatible with Wi-Fi 6
- Up to 5.GHz bandwidth
- Easy to set up and control via the TP-Link Tether app
