
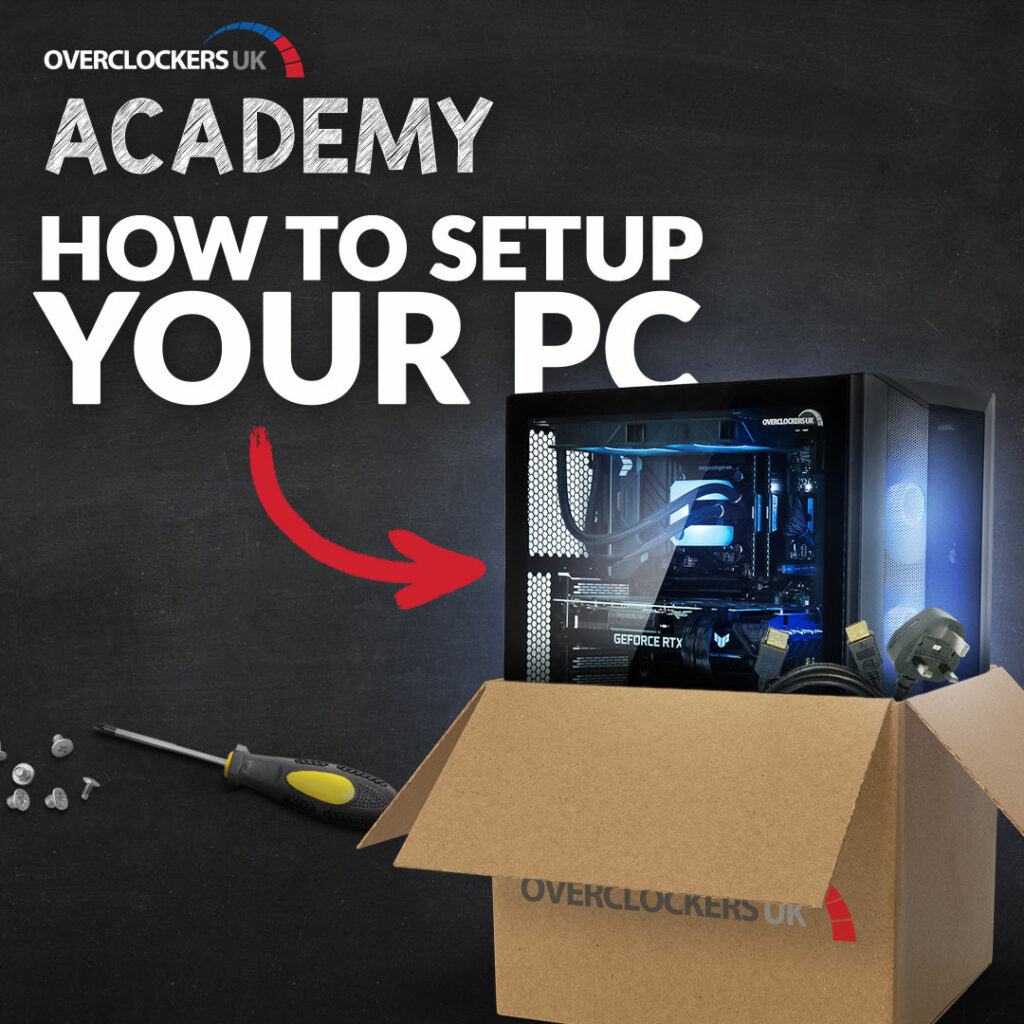
We’re back with another installment of our Overclockers UK Academy.
In this guide, we’ll be showing you how to set up your PC, and covering all the vital steps from unboxing to powering your system on.
Watch How to Set Up Your PC
Don’t have the time to read up on how to set up your PC? Or are you that excited that you just want to get in plugged in and ready to play? Don’t worry, you can also opt to watch our in-depth video guide, in which Briony takes you through all the important steps to get your new gaming PC up and running.
Unboxing
First up, you’ve got to get your new PC out of that hefty box. Typically, we pack all our systems into two boxes. One large exterior one, and then a small internal box alongside your PC.
The exterior is usually packed with extra padding to protect your PC in shipping, whilst the small interior box includes all the accessories you need to get started. You can normally expect to receive any manuals, Wi-Fi antennas, and additional extras that come with your components.
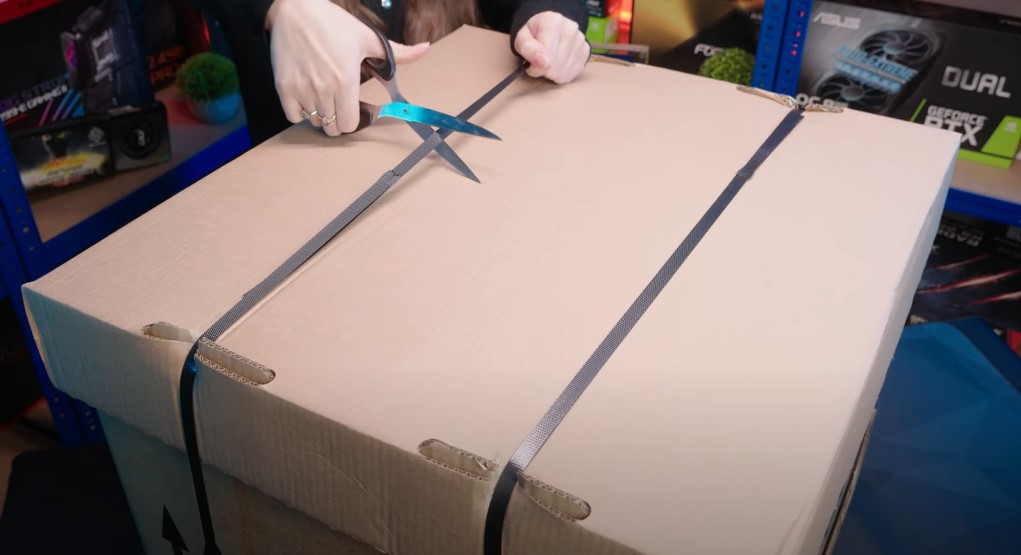
Make sure you take your PC out carefully, ensuring it’s the right way up.
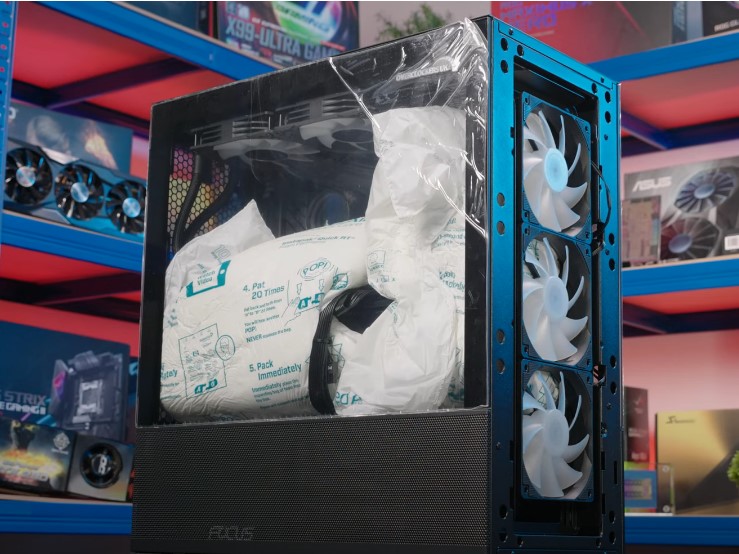
Once you’ve got your PC out of the box, you’ll need to remove any exterior packaging. Next, you’ll need to remove the side panel, since we add extra internal foam padding to surround any fragile components. Not only does this protect them during shipping, but it also helps to keep them in place.
Take care when removing your side panel. You may need to unscrew some screws or simply press a button. If you are unsure how to safely remove the side panel, the included case manual will have all the information you need. You can also opt to check online or ring us.
Once your side panel is removed, you’ll need to carefully remove the internal packaging. The foam padding might be in there extra snug so take your time and slowly remove them.
A top tip from us – don’t throw away all your packaging! It’s especially handy if you need to protect your PC when moving house or if you need to ship it back to us for an upgrade or repair. All the boxes can be flat-packed for easy storage.
Check Your Components
Next, check all your components and cables haven’t come loose during shipping. Even with all the additional packaging and foam we include, accidents can still happen during transit.

All you need to do is a quick and easy visual inspection to ensure nothing is out of place. This includes the large 24-pin motherboard cable on the right-hand side, your GPU cables, and CPU cooler (if you’ve opted for one), along with double checking that your GPU is straight and being held in by your case.
If any of your components or cables are loose, be sure to connect us either via phone or an online webticket to get this sorted out quickly.
However, if your PC looks great and nothing is out of place, you can now reattach the side panel.
Connect Your Monitor
To set up your PC, you will first need to connect your monitor.
If your PC has a dedicated GPU, plug your monitor into the graphics card, not the motherboard.
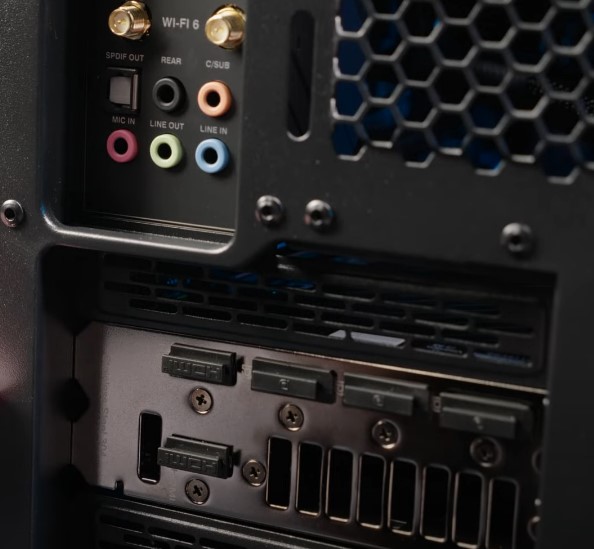
The GPU is situated beneath the motherboard and will typically have several different video outputs, including HDMI and DisplayPort.
Plug in Mouse & Keyboard
You can’t enjoy playing all your favourite games without plugging in your mouse and keyboard!
You can do this by plugging them into the USB ports on your motherboard at the back of the case.
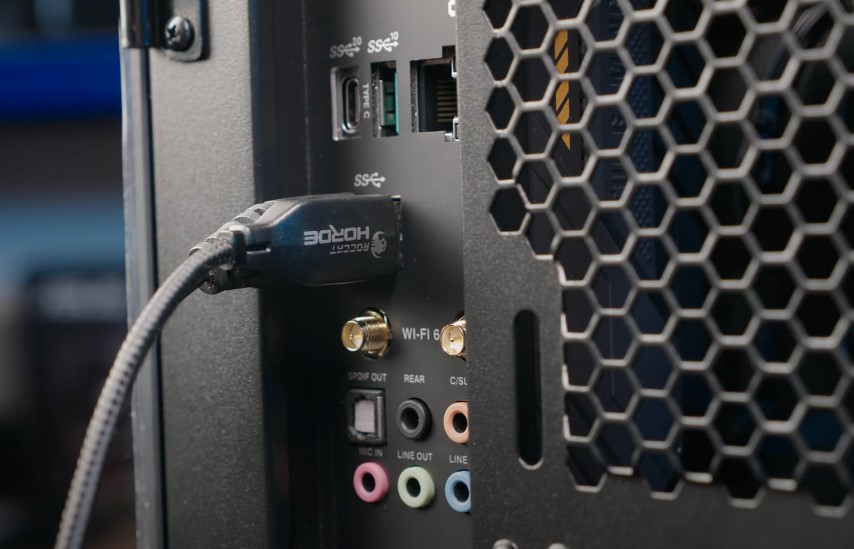
Connect to the Internet
Next up, you need to get your PC ready to connect to the internet.
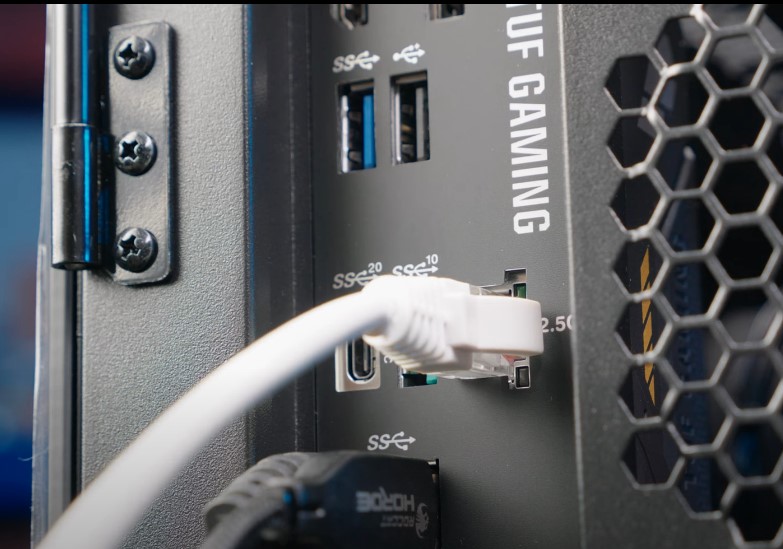
If your PC requires any additional antennas, these will be included in your welcome box.
To connect to the internet, all you’ll need to do is plug in any Wi-Fi antennas and/or an Ethernet cable at the back of the case.
Plug in Your Audio
After this, plug in your headphones or speakers into the motherboard. Look out for a green socket or headphone symbol.
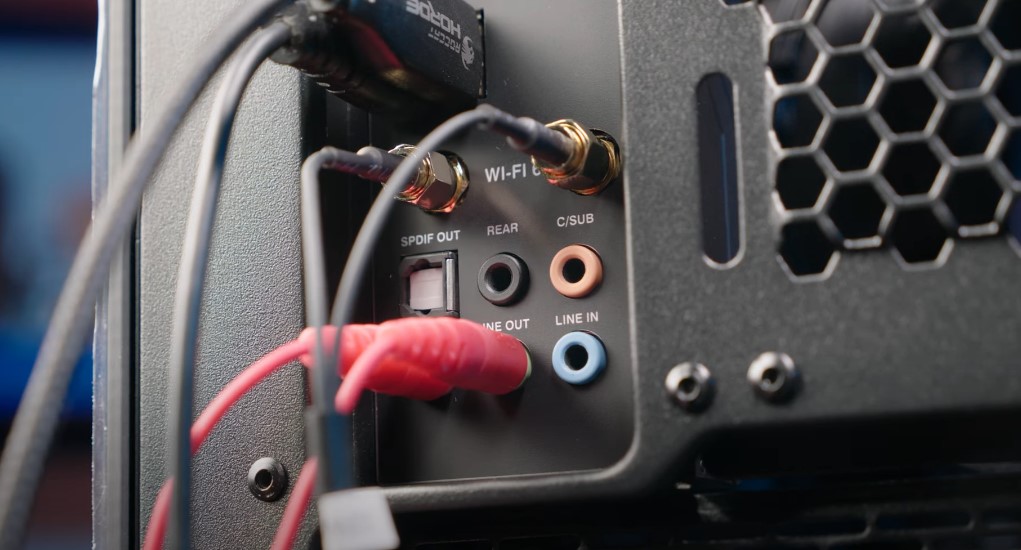
If you have a microphone, this will plug into the pink socket next to the green one. If your case supports it, you can opt to use the front I/O port.
Power On
Finally! It’s time to connect the power cable, which you will find in your welcome box. Once plugged in, you can switch the PSU on at the back of the case.
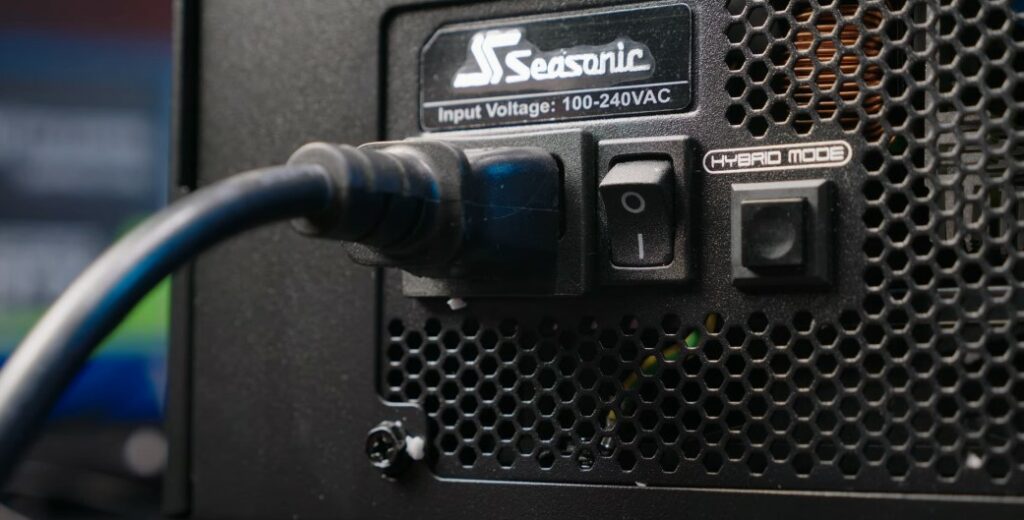
Now, you can turn on your PC and monitor!
If you opted for an OS, we’ll have pre-installed an operating system onto the PC for you, so don’t need to worry about purchasing or installing your own. Alternatively, if you didn’t opt to include one with your PC, you’ll need to purchase and install an OS before you can use your new PC.
Whilst your OS is being set up, you’ll want to ensure you’re connected to the internet, along with downloading any Windows, drivers, or software updates for all your hardware.
That’s it! Your new PC is ready to use, what are you waiting for? Get those games downloaded! Be sure to let us know in the comments below which games you’ll be downloading first.
Ask the Experts
Remember, if you do come across any problems whilst trying to set up your PC, get in touch with us and we’ll do everything we can to assist you.
You can choose to do this via telephone (UK: 01782 444455) or create an online webticket. For more information, check out our ‘Contact Us’ page.
- 6 min read
Ruth Rowley
Author
Ruth has been with Overclockers UK for over a year and has gone on to write about everything ranging from in-depth hardware guides to monthly game releases.
Outside of writing blog posts, she can be found wrapped in a blanket with her black cat, engrossed in a book or playing life-simulation games such as The Sims, Stardew Valley, and Animal Crossing.
Read More >>