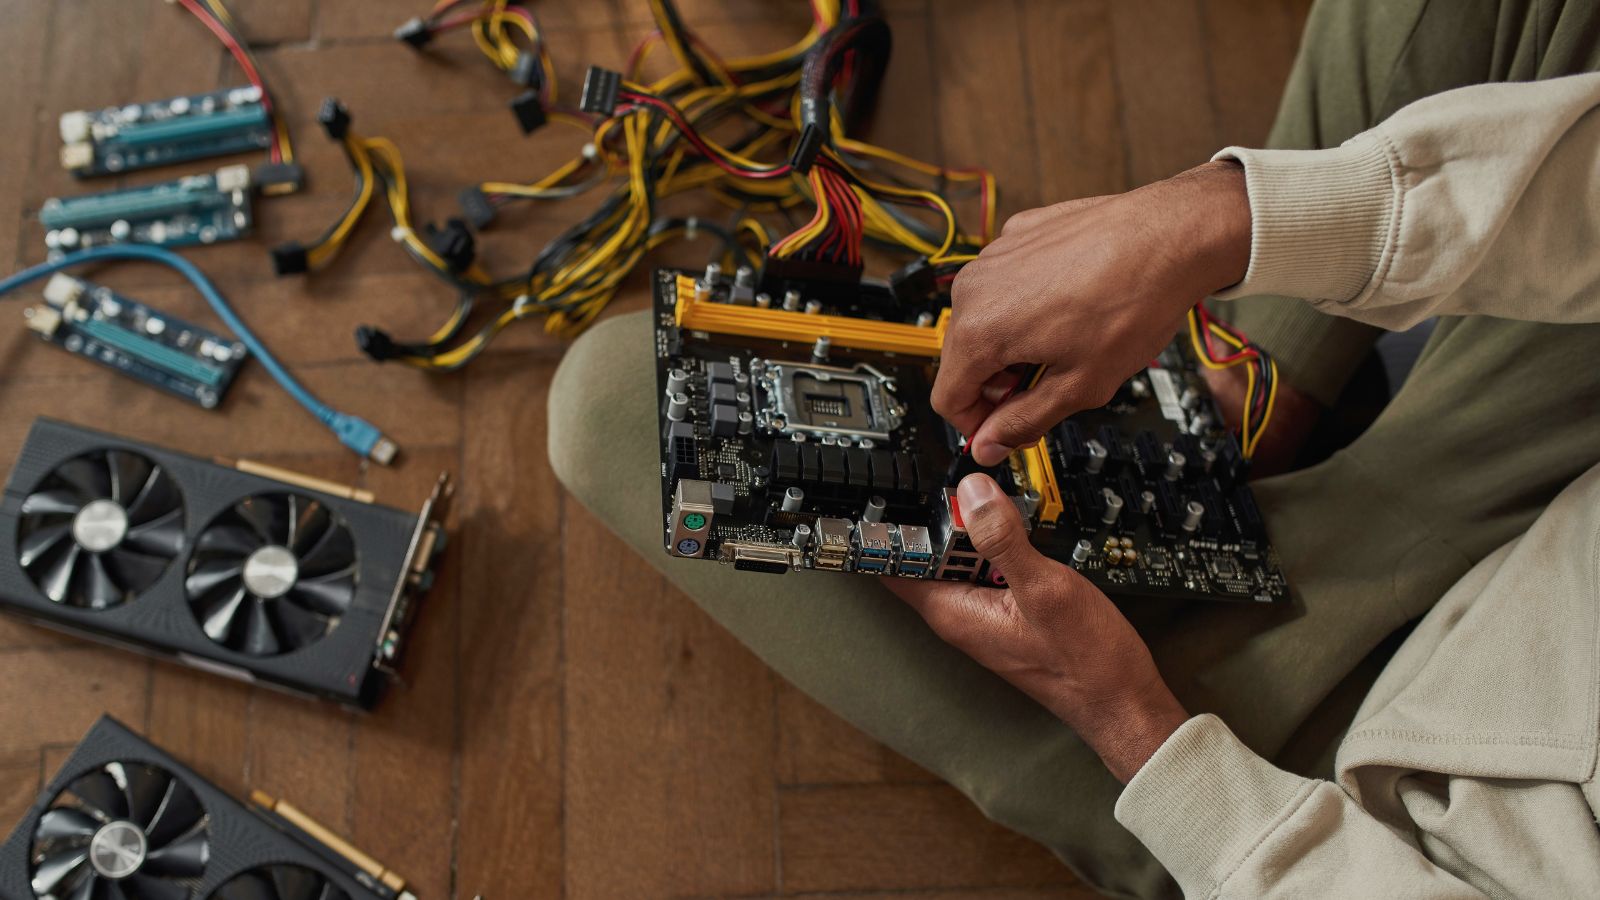
Building your very own gaming PC can be a rather daunting task, especially with so many different components to install and software to set up.
Thankfully, Overclockers UK is here to help prevent you from spiraling into a panic. We’ve compiled this complete step-by-step guide to building your own gaming PC, taking you through the entire process from start to finish.
You can opt to read this as you go or take a moment, grab a brew, read through our guide, and then tackle your new shiny system. The choice is yours!
Before You Start Building
Before you start building your gaming PC, you need to sit down and think about what you need from your system.
Will you be using it for gaming? What type of gaming – casual, mid-tier, AAA? Will you be streaming? Your chosen components will need to be able to support what you intend to do, if they don’t, you won’t achieve that powerful, ultra-fast, and smooth performance that you brought a PC for.

In addition to this, you also need to ensure that your components are compatible with each other. You don’t want to purchase a big hefty GPU but find out that your case doesn’t have the clearance to support it… You can do this by simply checking the size of the GPU against the internal dimensions of your chosen case.
All Your Components and Tools
First things first, you need to ensure you’ve got all your components and necessary tools.
In a typical gaming PC, you’ll need:
This list is a very brief overview of what you need.
For an in-depth look, check out our ultimate PC Building Hub. Here you’ll find complete overviews of each core component and a multitude of dedicated articles to help guide you through the process.
Alongside the key components, you’ll need to ensure you have all the tools and space to put your system together. We recommend a flat and clean surface, along with at least a Phillips and flat head screwdriver, some cable ties, pilers, and wire cutters.
If you don’t have any of these tools, we stock a wide variety of iFixit Tools to provide you with everything you need to build your system.
To complete setting up your new system, you’ll also need a monitor, speakers, keyboard, and mouse.
Lastly, we recommend you tidy up your cables as you go.
Utilising cable ties, you can choose to tidy up all the cables by bunching as many together as you can, then securing with a cable tie. Don’t forget to cut off the excess tie with a pair of scissors but take care when doing so.

In need of some help with your cable management? Then check out our blog on Kolink’s in-depth range of cables and adapters.
Let’s Get Building!
Prep the Case:
First, find your case, and remove every side panel that you can, including the front and back panels. You will also want to extract any internal packaging and the box of included accessories.
We recommend you keep the removable panels safe inside the original case box, and any magnetic screws in a bowl or magnetic parts tray.
Before you begin installing the motherboard, you will first want to push the rear I/O shield into the rectangular slot in the back of your PC case. Take care when doing this and ensure that it’s right side up by matching the cut-out patterns to the ports on the back of the motherboard. In addition to this, you may also want to install any stands off within the case that correspond to the mounting holes in your motherboard.
Motherboard:
Start off by locating your motherboard.
Before you install it inside your case, you’ll need to install the CPU, cooler, and RAM. You can find dedicated sections on how to do this below.
Once you’ve all these components are installed, place the motherboard on the standoffs on your case, ensuring that the holes and standoffs line up in place. After this, secure it with the compatible screws. Now, you can also connect the power and reset buttons, LEDs, USBs, etc, that are in the case.
CPU:
Here’s where it can get a little tricky – installing the processor.
Before you install your CPU, you need to ensure your motherboard and processor are compatible, if you haven’t already. Each type of CPU utilises a specific chipset and requires a compatible CPU socket on the motherboard.
| Socket | Chipsets | Compatibility | Generation(s) |
|---|---|---|---|
| LGA 1700 | B660 Z690 B760 Z790 | Intel | 12th Gen (Alder Lake) 13th Gen (Raptor Lake) 14th Gen (Raptor Lake-S) |
| AM5 | B560 X670 | AMD | Ryzen 7000 Ryzen 8000 |
| FCLGA 4677 | W790 | Intel | Xeon W (Sapphire Rapids) |
| sTR5 | TRX50 WRX90 | AMD | Ryzen Threadripper PRO 7000 WX Ryzen Threadripper 7000 |
| LGA 1200 | Z490 H510 B560 Z590 | Intel | 10th Gen (Comet Lake) 11th Gen (Tiger Lake) |
| AM4 | A520 B550 X570 | AMD | Ryzen 3000 Ryzen 5000 |
| LGA 2066 | X299 | Intel | X-Series |
| sTRX4 | TRX40 | AMD | Ryzen Threadripper 5000WX |
| LGA 1151 | H170 B150 | Intel | 6th Gen (Skylake) 7th Gen (Kaby Lake) |
Now you’ve made sure your CPU and motherboard are compatible, locate the CPU socket on your motherboard. Typically, it will be in the centre of the board.
For Intel motherboards, the CPU will be situated inside a bracket via a retaining arm. Alternatively, on AMD motherboards, the CPU will sit on a moveable top plate that you control via a retaining arm*. On most motherboards, there will be a retaining arm that keeps the CPU in place once installed.
*The process for installing the latest AMD Ryzen 7000 series is a little different. These processors have moved away from PGA to an LGA socket, which is what Intel uses. This means if you have a 7000 Series CPU, it will be situated inside a bracket instead.
Carefully lift the retaining arm and remove any excess plastic on the CPU socket. Hold the processor by the edges as you work out the correct orientation. Your CPU can only be installed in one orientation, which is shown by a small triangle on or near the motherboard socket, and a gold triangle on the CPU.
You’ll want to match them up and carefully place the CPU in its socket. Place it gently, taking care of the pins, especially if you are using an AMD motherboard.
After this, you’ll be able to close the retaining arm. If you have an Intel motherboard, you’ll need to lower the bracket first before the arm.
If you need some additional support on installing your CPU, be sure to check out the Overclockers UK Academy guide.
CPU Cooler:
Some coolers will come equipped with pre-applied thermal paste which is typically protected by a piece of plastic. If this is the case, you simply only need to remove the plastic before you mount the cooler.
If not, you need to start by applying a small amount of thermal paste onto the CPU.
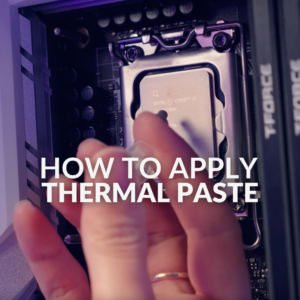
If you need some help applying your thermal paste, take a look at our blog guide.
From here, you can opt to spread the paste around the CPU or move on to mounting the CPU cooler.
Before you do this, be sure to remove the protective film from the cold plate on the cooler. Once you have it placed correctly on top your processor, simply secure it in place by attaching the corresponding screws into its bracket on the motherboard, and then plug in the attached fan power cable into the motherboard connector.
Memory:
Next up, installing the memory or RAM.
To do this, push down on the latches on either side of the DIMM slots on your motherboard, and then carefully line up the notch on the bottom of the RAM module with the one on the slot.
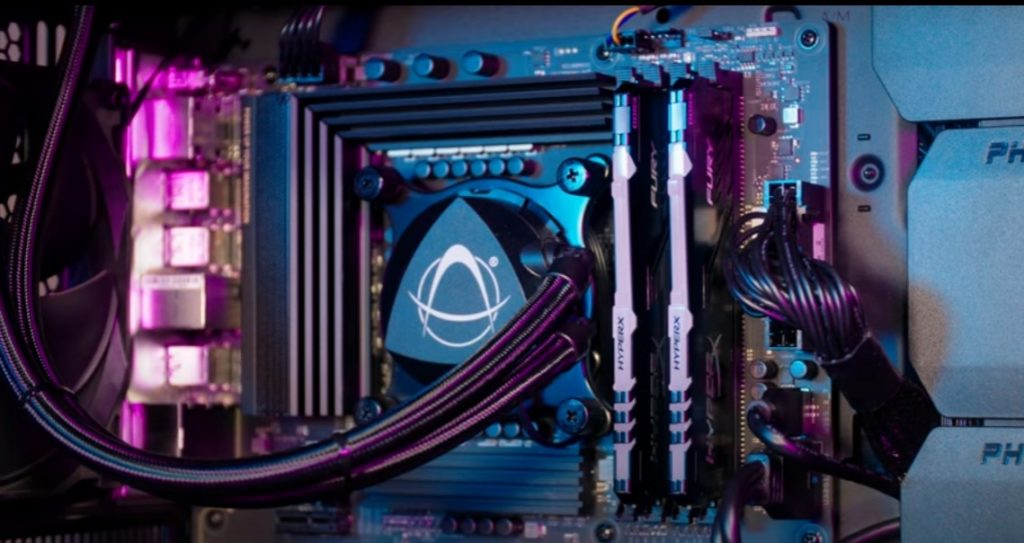
Once you’ve done this, carefully push down both sides of the module into the DIMM slot. You should hear a clicking sound once it’s securely in place and the latches will click back up.

If you do struggle with installing your RAM, our Overclockers UK Academy has a dedicated step-by-step written and video guide to further support you.
After you’ve installed your CPU, cooler, and RAM onto your motherboard, you can then lay the board down inside your case. Carefully line up the rear ports with the corresponding holes in the I/O shield. After this, you can secure your motherboard in place using the compatible screws that came with your case.
Storage:
It’s time to move on to any storage devices, especially if you wish to install M.2 SSDs.
Locate the M.2 slot on your motherboard and carefully slide the drive into the slot. You can choose to further secure it in place with screws.
Here you can also opt to install any additional SATA SSDs or HDDs.
If you are mounting your storage drives, fix the drive in place within the case, connect it to the motherboard via the SATA cable, and plug in any additional power cables to the storage drive. Alternatively, hard drives can be stored within drive cages, if your PC chassis has any.
Power Supply:
Next up, locate your power supply.
If your chosen case comes with a dedicated PSU bracket, you’ll need to securely attach this to the back of the PSU unit, thread the cables through the PSU slot, and then slide the power supply into place. After this, you can then secure the bracket into place inside your case.
Alternatively, if you don’t have a PSU bracket, you’ll simply have to slide the power supply inside your case, push it firmly against the inside wall and screw it to your case.
Depending on your cooling requirements and case design, we recommend you arrange the fan towards any ventilation areas, such as facing downwards or away from the interior of your PC. This ensures your power supply can effectively draw in any fresh air whilst exhausting heat from the back.
When you do install your PSU, don’t forget to safely thread all the key connectors to all your components to supply them with power. This includes the 24-pin ATX, PCIe power cables, and SATA connectors.
Graphics Card:
After this, locate your graphics card.
To safely install your GPU, line it up with the PCIe slot on your motherboard and expansion slots on the back of your case. You will also need to ensure that the metal bracket will safely slide down the side of your motherboard before you install your graphics card.
If your graphics card is larger, you might also need to remove any additional PCI covers. Be sure to do this before you push your graphics card into place.
To safely secure it, push the GPU into the slot on the motherboard until you hear a click, then attach the screws into the metal bracket at the back of the card. After this you can then plug in the PCIe power cable, this could be either 6-, 8-, or even 16-pins, depending on your GPU model and series.
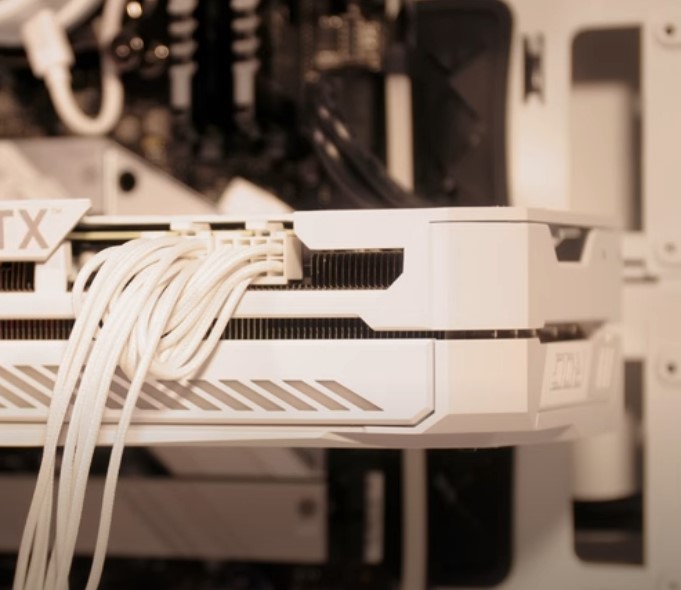

If you need additional support and helpful tips when installing your graphics card, take a look at our dedicated Overclockers UK Academy guide.
Install Any Fans:
Your chosen case may have come with fans pre-installed. If this is the case, you can miss this step unless you are planning to replace them.
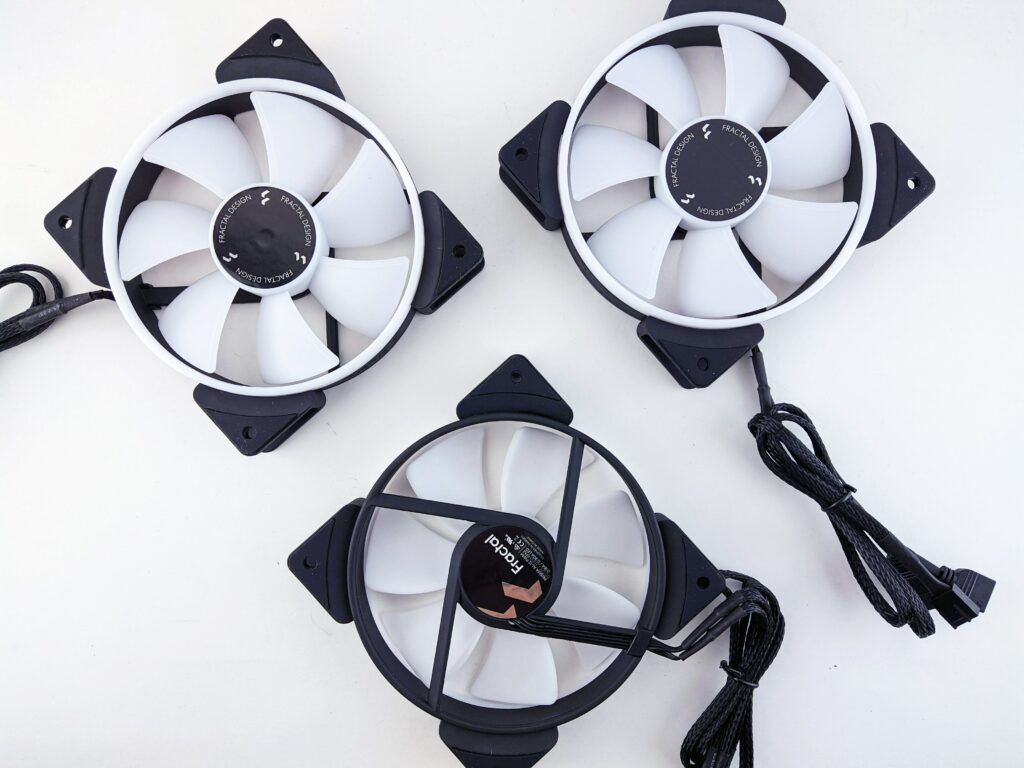
When installing your fans, you want to create a balanced cooling set up to ensure there is a consistent flow of air throughout the case. Typically, this consists of two fans on the front panel and at least one in the rear.
Reattach Any Side Panels:
Lastly, reattach any side panels you removed and secure them in place with the compatible case screws.
Setting Up Your PC
Your PC is now ready to turn on. Be sure to remember to switch your PSU on at the back of your case, along with plugging in a monitor, keyboard, and mouse.
Before you can begin downloading all your favourite games, you’ll need to purchase and install an operating system. Thankfully, if you are unsure how to do this, we have a dedicated step-by-step guide on installing an OS.
After your operating system has been set up, you’ll also want to ensure you are connected to the internet, along with downloading any Windows, drivers, or software updates for your hardware.
That’s it! You’ve successfully built your very own gaming PC and it’s time to get all your favourite games downloaded.
Your PC Building Tips?
If you are a veteran PC builder, be sure to leave all your PC building tips and tricks in the comments below.
Any beginners out there, be sure to also check out our top ten tips for PC building!
